Education
5 DIY Photo Filters on the cheap
By Stephanie - 6 min read

Digital filters are the best invention since string cheese, but have you ever tried holding something in front of your lens to make a DIY filter? Here are 5 ideas from our friends at Photojojo for ordinary objects that will totally transform your photo’s colors and sometimes texture!
DIY Filters at EyeEm HQ by Severin on EyeEm
Digital filters are the best invention since string cheese, but have you ever tried holding something in front of your lens to make a DIY filter? Here are 5 ideas from our friends at Photojojo for ordinary objects that will totally transform your photo’s colors and sometimes texture!
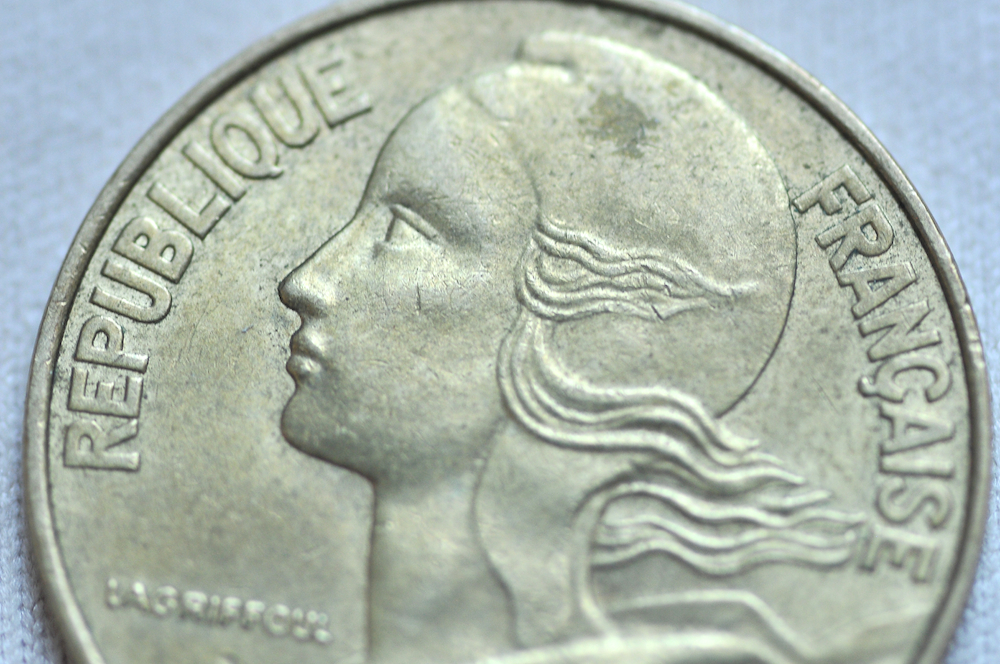
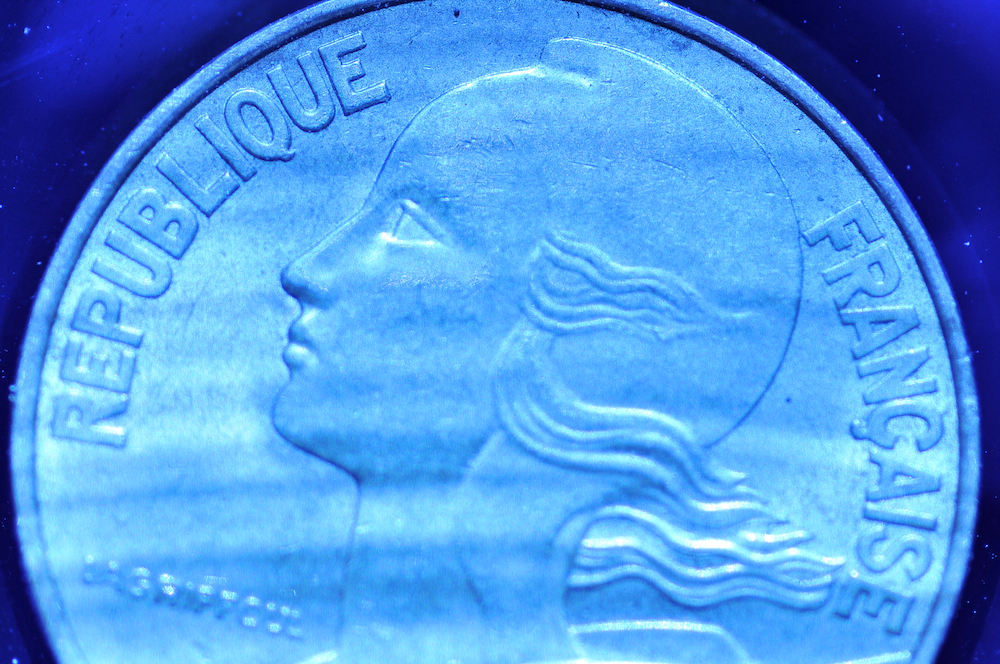
1. The Colored Glass Macro Marvel
While not a filter per se, this is an easy way of dipping your macro shots in a tasty cup of color! For this image, we simplyput a coin into a colored wine glass, placed the glass in direct sunshine, and snapped a picwith our macro lens.
Try using different colored wine glasses or change the lighting for fun variation.Now that you’ve got the basics go forth and explore great macronaught!
2. The Water Bottle Pinhole Camera
Travel back in time with this awesome pinhole camera effect!All you will need for this filter is a plastic water bottle and a pair of scissors.Cut off the top third of your water bottle and also remove the top part with the cap.Your water bottle should look likethis.Now place it over your lens and point it at your subject.
Playing with your aperture can create interesting variation:a small aperture produces a rippley circular halo, while a wider aperture forms a center accentuating psychedelic haze.
You can also aim your water bottle around the frame like a tilt shift lens to accentuate different parts of your pic.Welcome to a world of blurry low def awesomeness sir. Here, have a monocle.
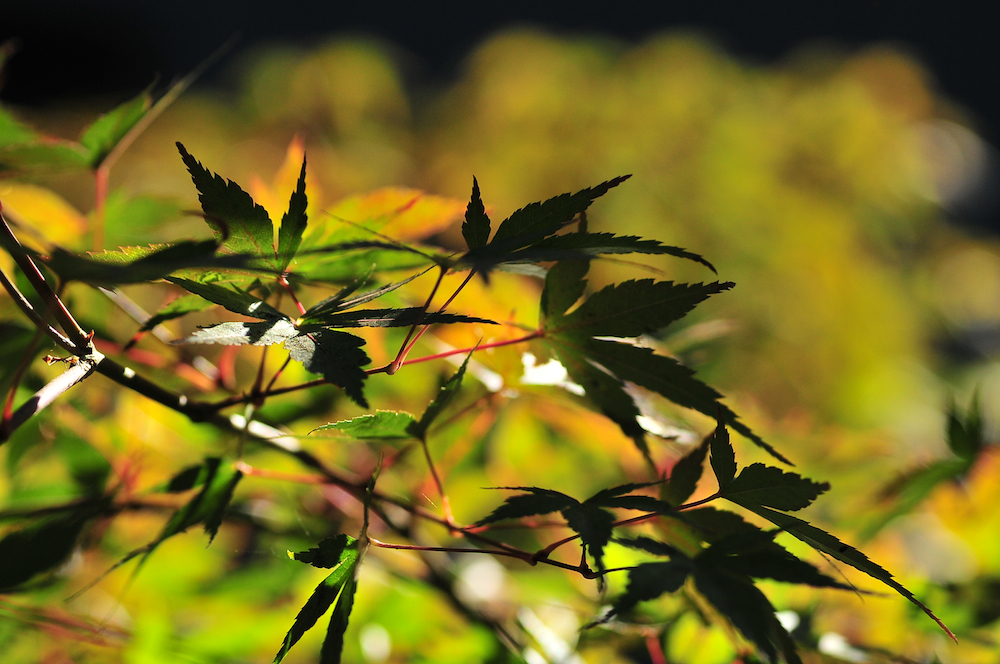
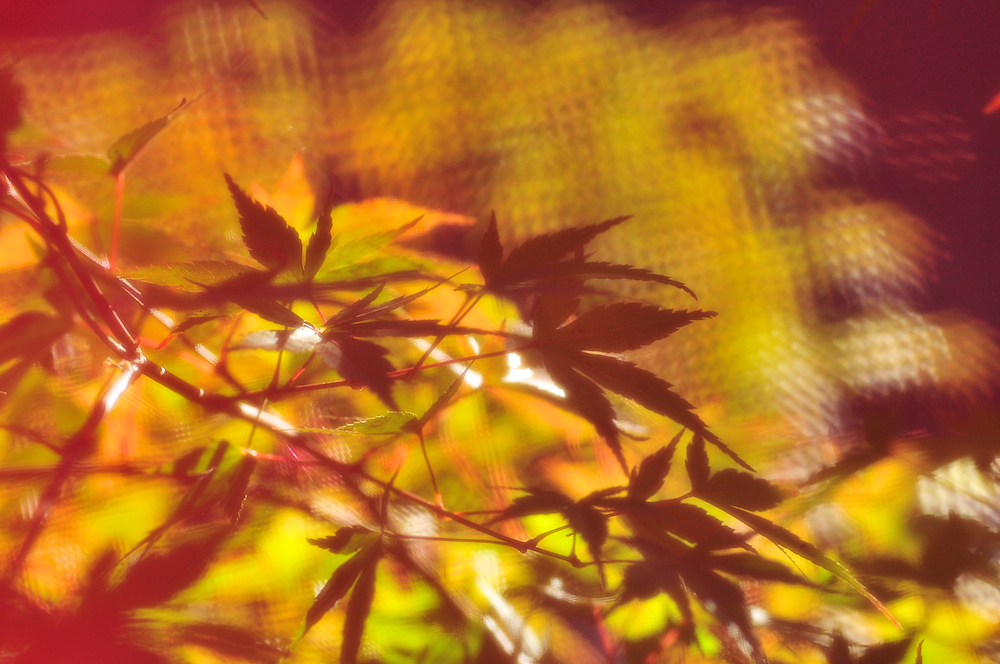
3. Jersey Patterns
Remember those yellow and red practice jerseys from PE class?Well turns out these old team makers can create an optically interesting surprise.To get the effect, simplytake a criss-cross fabric jersey and pull it tightly over your lens.
You will want toaim at a close subject with a blurry background to witness the bug vision patternyour jersey overlays onto out of focus areas.The fabric will also color in dark shadows, and create a dreamy haze similar to the effect of using expired film.
You can enjoy these colorful kaleidoscopic textures night or day, but avoid direct sunshine on your lens as it will disrupt the effect.Three cheers for dragonfly vision!
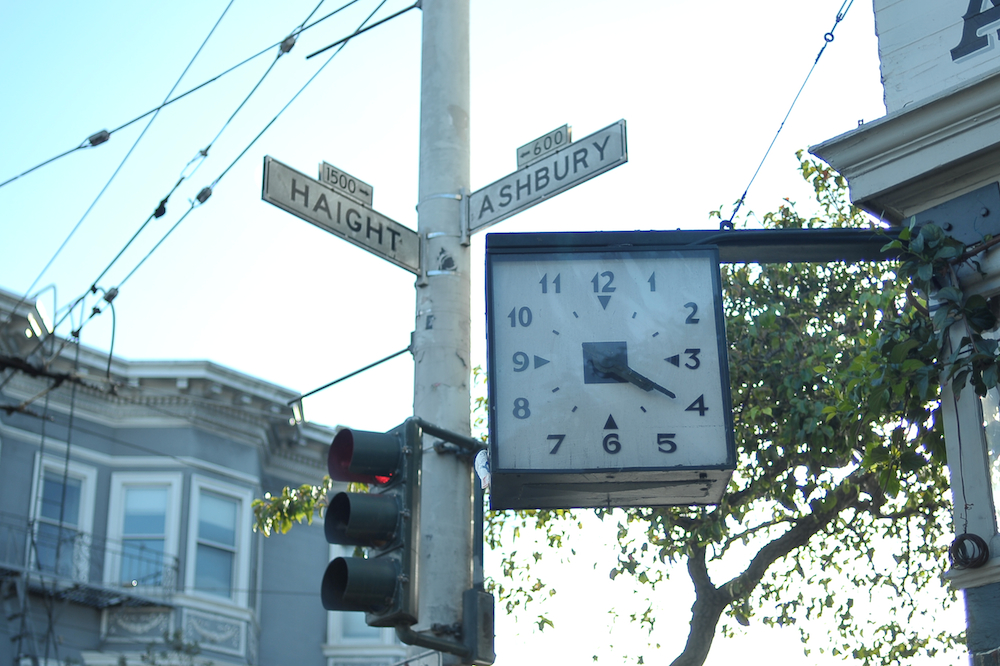
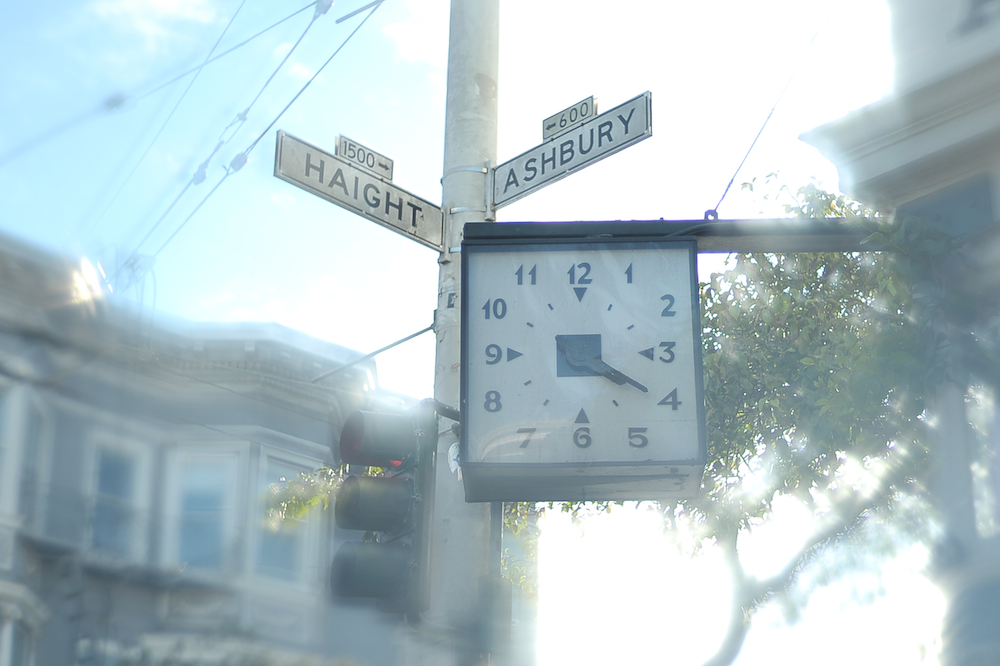
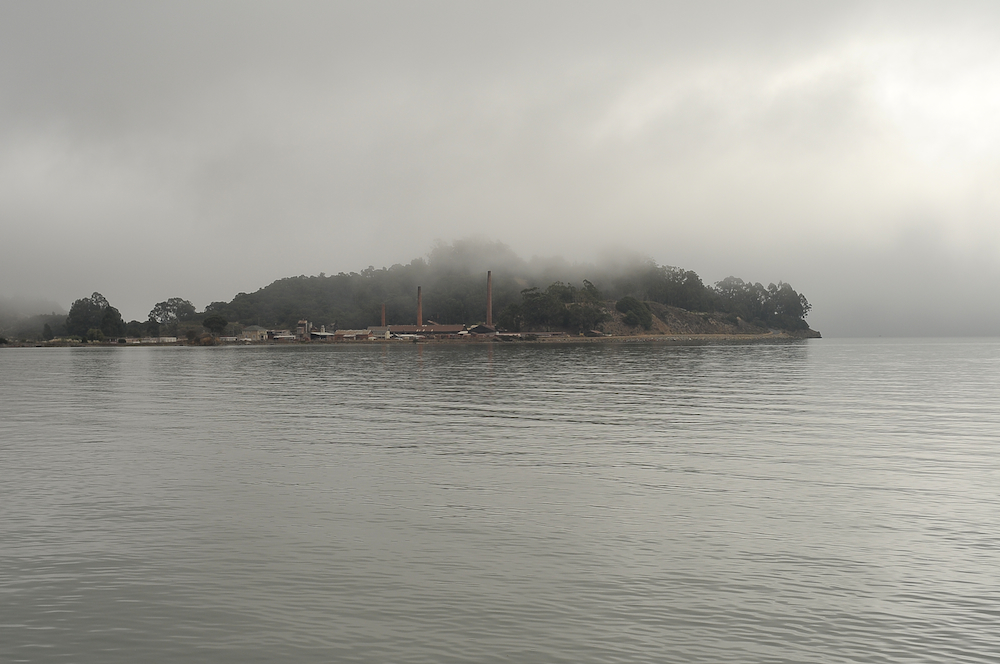
4. The Film Negative Split Filter
You thought your unused bits of film negatives were just taking up space, but lo and behold they have a purpose after all!For this shotthe end of a color film negative was placed in front of the lens.
We used the part where it makes the transition from light sensitive auburn to the muddy dark bit at the end.The result is a dreamy colored fantasy world where fog becomes grape colored skies and murky water becomes a golden harvest.
While the film filter adds an awesome effect to your photo it will also block some of the incoming light. Make sure adjust your settings to compensate.Also, try using just the lighter or darker side of your film strip for a uniform nutty warmth or a deep chocolatey hue.
Mmm, now we’re getting hungry.

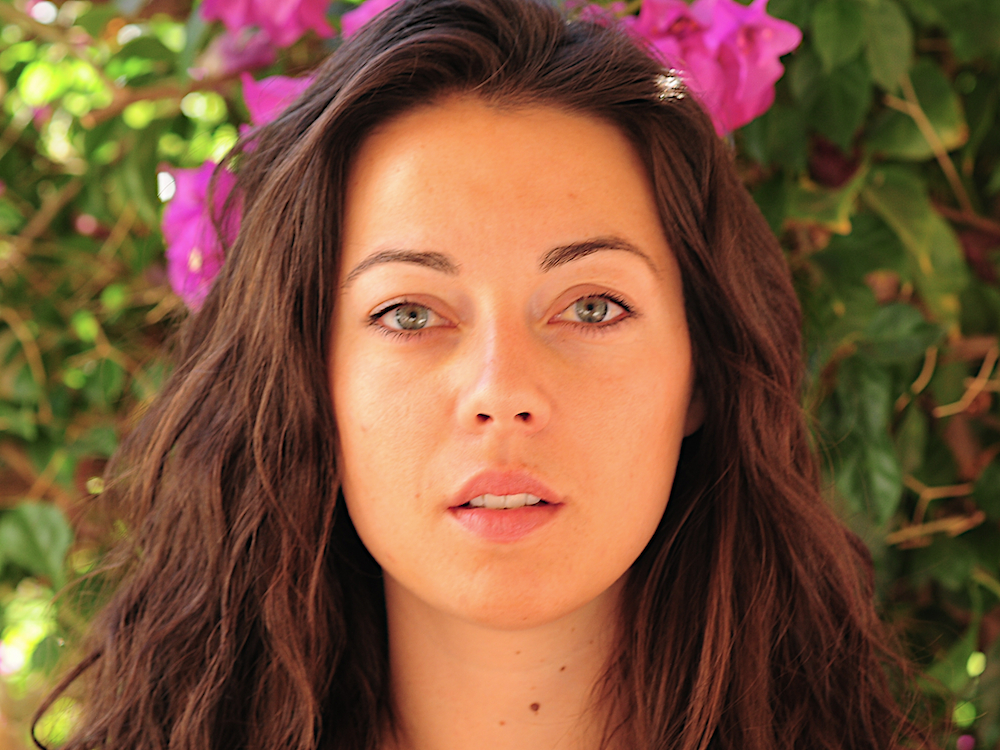
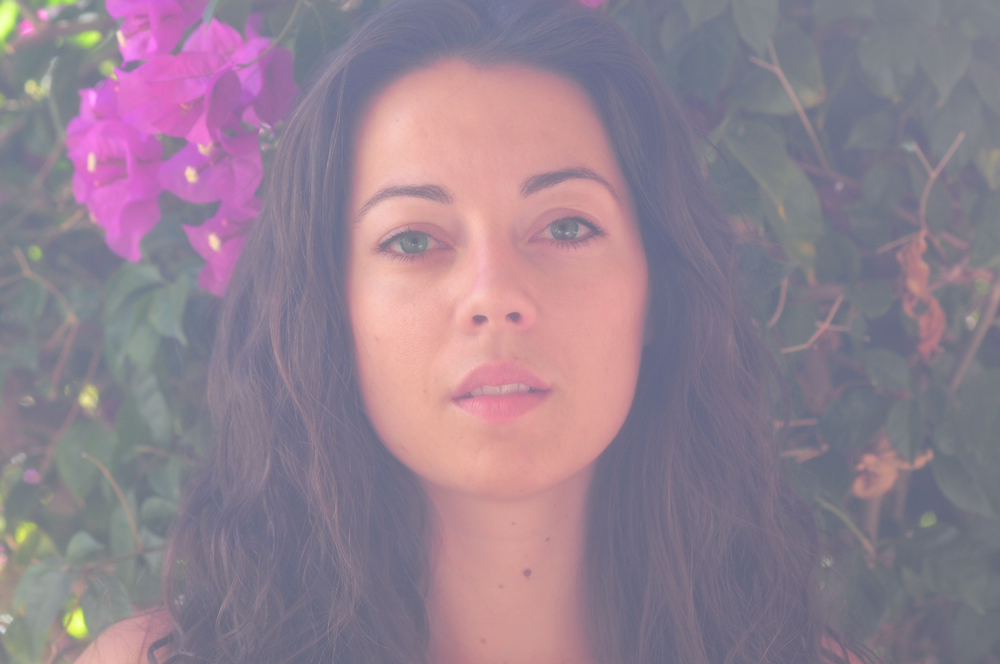
5. The Pantyhose Portrait Softener
For that dreamy 80’s glamour shot feeling, look no further than your sock drawer!An oldpair of sheer pantyhose, cut and pulled tight over your lens, can do wonders to soften and add hazy mystery to your portraits.
The effect can be quite strong, but we foundputting a run in the stocking material helps to allow a little more light on your subject.Also, like the filter in #5 it’s best to use this setup in the shade as direct sunlight on your lens will cause the image to be overly washed out.
We love taking portraits and we took this filter everywhere as it rolls up and fits easily into a pocket or camera bag.Expand your horizons by experimenting with colored fabrics for different scenes, skin tones, and lighting situations.
You can find even more ideas here at Photojojo’sDIY Photo Filter Guide.
We’d love to see yours, so share them here in the EyeEm album DIY Filters.