Education
How to Create a Zine With Your Photography
By Jenna Black - 3 min read

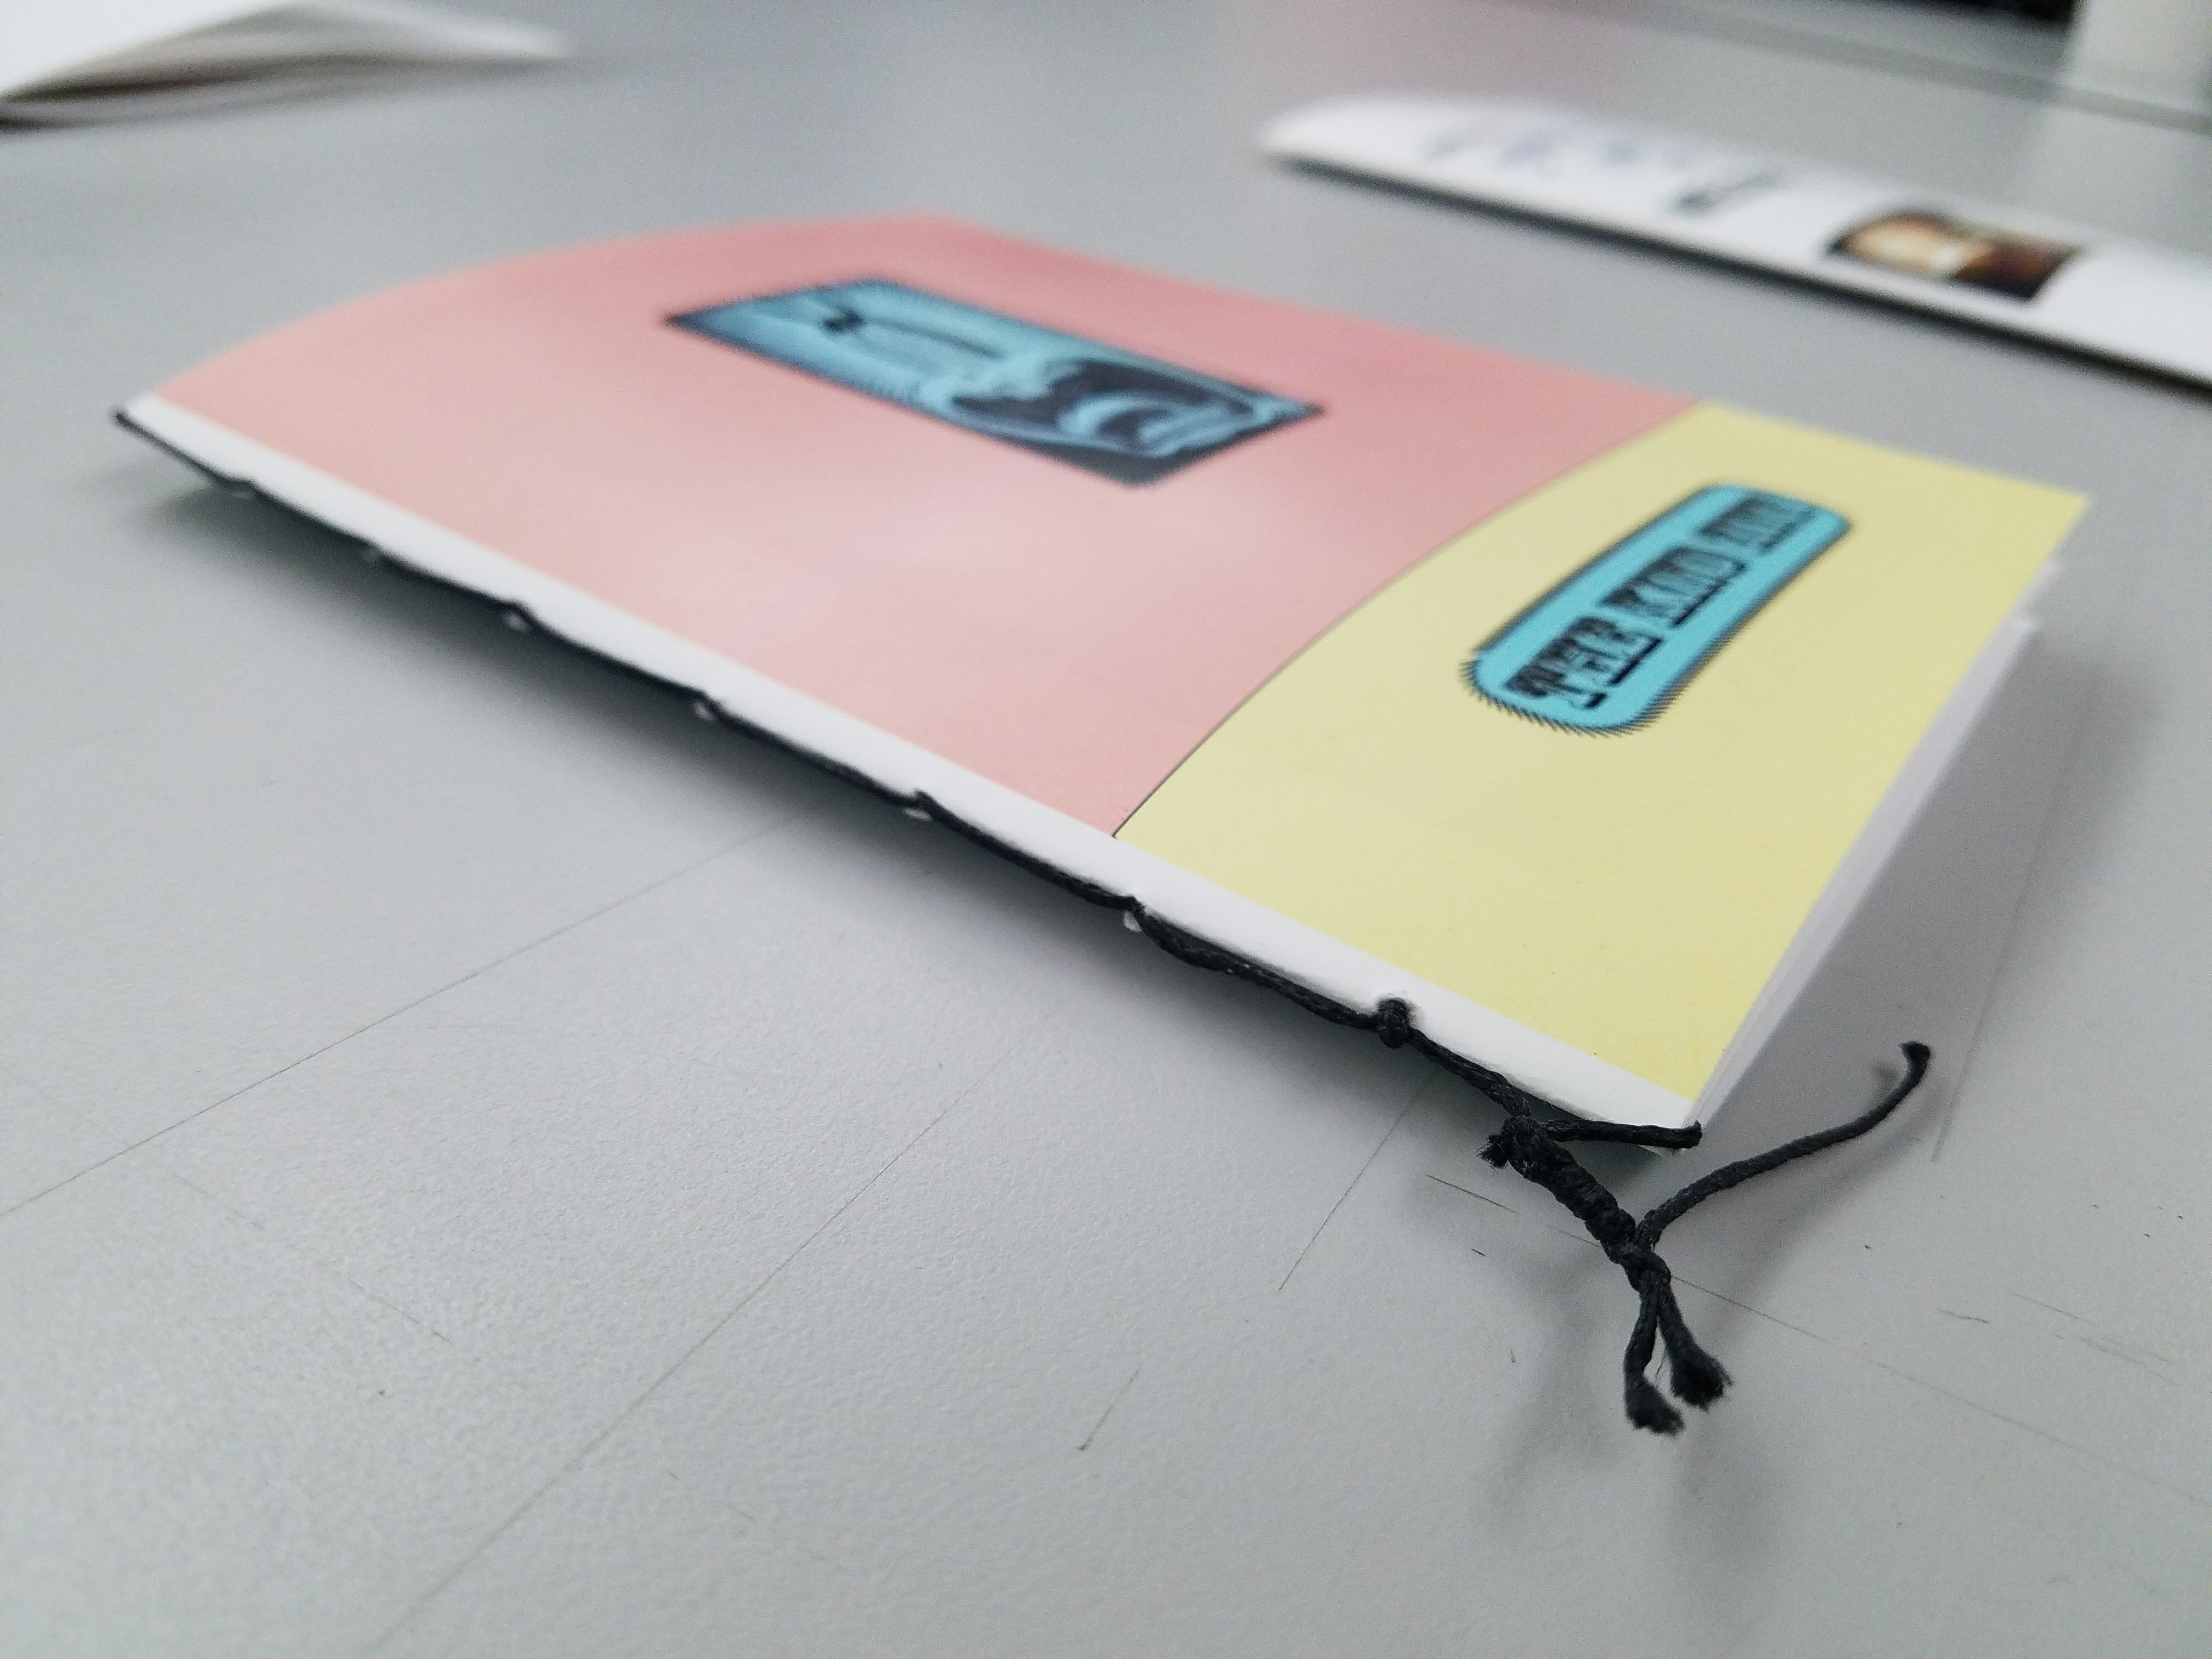
Creating a zine is a simple way to tell a story with your photography. EyeEm's Photo Editor Fabiana teaches zine workshops at the International Center of Photography in New York City, and gives her simple tips on how to create your very own zine.
A zine is most commonly a small-circulation of self-published work. It could be about many different topics: photography, illustration, design, etc…Usually zines are the product of a small group or individual people, and the primary intent is exposure rather than profit.
A photography zine, for example, is a tool that photographers can use to tell a visual story, to inform an audience about a specific topic or issue, to showcase and advertise a new idea or simply create a preview of an ongoing project. Zines were originally called fanzines, alluding to the fans who made them. Later on, Fanzine was just shortened to zine.
WHERE TO START
1. Figure out the content and style.
Do you have a specific body of work to show? Do you want to tell a specific story? Is it just a collection of images? Which size would you like to work with? Which materials? Black and white or color photography?
2. Decide how to tell your story through photography.
How do you want to display your pictures? Linear or non linear narration? Single images, diphtycs, collages? Do you want to add text, or make it purely visual?
3. Select your photos and make your final edit.
This process is usually known as editing. You can start making a wide selection of your pictures then narrow it down until you get the perfect sequence. Some photographers find it useful to print all the images in a small size to be able to move them around and immediately visualize what it would look like as azine.

WITH OR WITHOUT INDESIGN
We can start with a letter size spread (8.5 x 11 inches/ 210 x 297 mm) which you can fold in half crosswise into a 5.5 x 8.5 inch/210x148.5 mm booklet. In this way, each sheet contains 4 pages. When deciding the number of pages for your zine ALWAYS count by 4’s. 4/8/12/16/20 etc…
HANDMADE ZINE
Page number/order
When you fold your sheets, your front cover and back cover should always be the first and last pages of your layout, then to follow 14/3, 12/5, 10/7, 15/2, 13/4, 11/6, 9/8
Here’s a template for making a 16-page zine.

USING INDESIGN
With InDesign you need to consider the number of pages, front and back of your zine. Once you’re done there is an option to print as a “Booklet”. With this option, pages appear in sequence in the layout window, but are printed in a different order so that they appear correct when folded and bounded.

PRINTING
Once you’re done with your layout, it’s time to print your zine. If you’re using InDesign, save as PDF (ADOBE PDF PRINT) and print it as a booklet. If you don’t have the software, you can do it manually using photocopier, paper, glue and scissors and follow the template above. After printing, simply arrange and fold your pages. You can use a long-arm or rotating head stapler or you can hand bindyour first copy of your zine.